Smoking cigars the right way can be a daunting experience for the uninitiated. You might tremble for not following the etiquette amidst an elite circle. However, we think, by knowing the right way of how to light a cigar can increase confidence in yourself.
Worth mentioning, cigar lighting is not just like a regular cigarette lit up. It requires precious skills to unravel and burn the wrapping evenly.
In this article, we have incorporated a proper guideline on how to light a cigar. By following this guide step by step, you will be able to lit the cigar end just like the pro smokers. Even if you are not a beginner, this guide will help you to increase your lighting skills furthermore.
Step 01: Select a Cigar Flame First
Surprisingly, lighters play a vital role in cigar taste and flavors. You might think what’s the big deal if you choose a match or a lighter? Both does the same thing! Well, unfortunately, they are not the same. Though they both produce flames, the inherent ingredients can affect your cigar flavors.
That’s why, experts often banish cardboard matches, candles, and oil-fueled lighters (like Zippos) for lighting up a cigar. These flames contain paraffin which may alter the taste immediately.
It’s better to choose safer options such as Butane lighter, wooden matches, cedar spills, etc. So, your first step of how to light a cigar will be to find out the right flame which will burn the cigar evenly and keep all the flavors intact nicely.
Step 02: Toast the Foot
The second step involves toasting the foot of the cigar gently. You need to follow this step in order to give a head start to your cigar and mark down the area where you’re about to lit up.
So, you already have a flame ticked out of the box. Hold the flame steadily and take it nearer the cigar, keeping it at 45 degrees angle. When it is about 2-3 inches (5-7 cm) closer be steady and don’t let the fire go anymore closer to the cigar.
Now, keep rotating the cigar over the flame until it is evenly burnt on all sides. We’re not saying to completely burn it but to blacken the edges. Stop when you’ll notice a glowing ring.
The whole process is like rotating a marshmallow over fire. The main goal is to only blacken the edges but not to burn the cigar entirely. Keep the heat distance, otherwise you can damage the wrapper and mess up with all of the flavors.
Step 03: Light Up the Filler
After the toasting is done, you can finally start burning the filler. Notice that we are not inadvertently just flaming up the cigar but starting off with the core. It might be hard maneuvering at the beginning. Don’t worry, you’ll be good once you’ve practiced it enough.
So, let’s talk about how you’ll shift the flame from toasting to igniting the filler. You have to reduce the cigar’s angle into a more horizontal position. Then, take the flame a little closer to the cigar approximately 2.5 cm.
Now, move the flame around the filler so that the cigar gets an even burn. When you’ll see the center is beginning to smolder, that’s when you will stop.
Step 04: Release the Draw
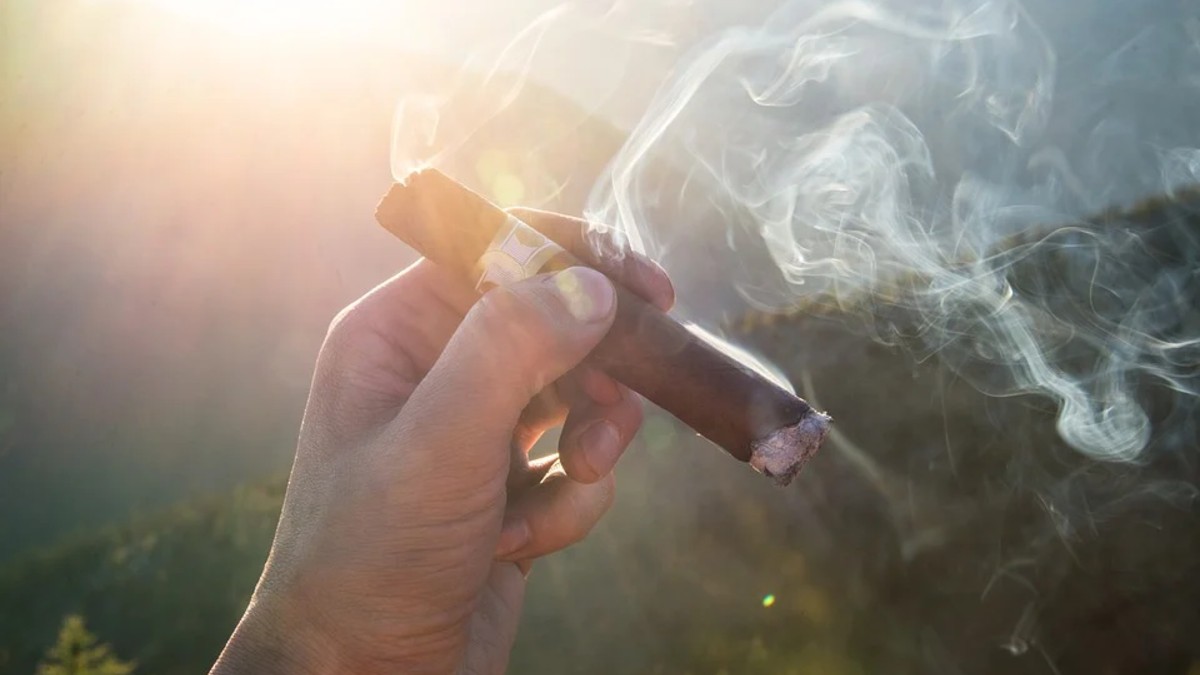
Finally, we’re on our way to release the draw. Once you have successfully burnt the cigar evenly, it’s time for some puffing on the cigar.
At first, you have to bring the cigar closer to your lips. Take the flame half an inch below the cigar’s foot. Now, suck it and release the pressure gradually. Repeat the procedure twice. When you’ll see a large undulating mass of smoke is coming out from the cigar’s foot, that’s when you’ll stop.
You can take small puffs or larger draws based on your cigar state. Check the amber consistency of the cigar foot so that you can make up your mind how you will draw smoke.
Step 05: Blow on the Cherry
People tend to overlook one crucial step of lighting a cigar. It is blowing on the cherry that we are talking about. You should blow the cigar from embers towards the charred areas. As a result, the heat will disperse gently, protecting the cigar head from getting directly exposed to the flame.
After your cigar is wholly prepared, let it cool down for a few moments. In the meantime, the cigar foot will stabilize. Now, your cigar is ready to enjoy!
Tips to Remember
Knowing how to light a cigar is great but you might face some burning issues. It’s common to all the handmade cigars. However, you can definitely tackle such situations by taking some precautions.
Here are some tips and tricks that you should remember if you are a regular cigar smoker:
- Try to store your cigars in proper environment. Too much dryness or humidity can ruin the cigar’s construction. It will allow to invite uneven burning issues a lot more than expected.
- Avoid windy climate for cigar smoking. When the wind blows heavily, your cigar is likely to burn quickly on one side. This will cause uneven wrapper burns and ruin the whole cigar.
- Rotate your cigar if it’s canoeing. It will help to burn the other side of the cigar.
- It’s better to moisten up your cigar a bit to the fast-burning areas. This will help to slow down the burning inside and prevent your cigar from becoming uneven in shape. A little saliva or water could be a good moisturizer.
We hope by following these guidelines you will become a pro in lighting up a cigar in no time.
So, enjoy your smoke!